Mar. 24, 2026
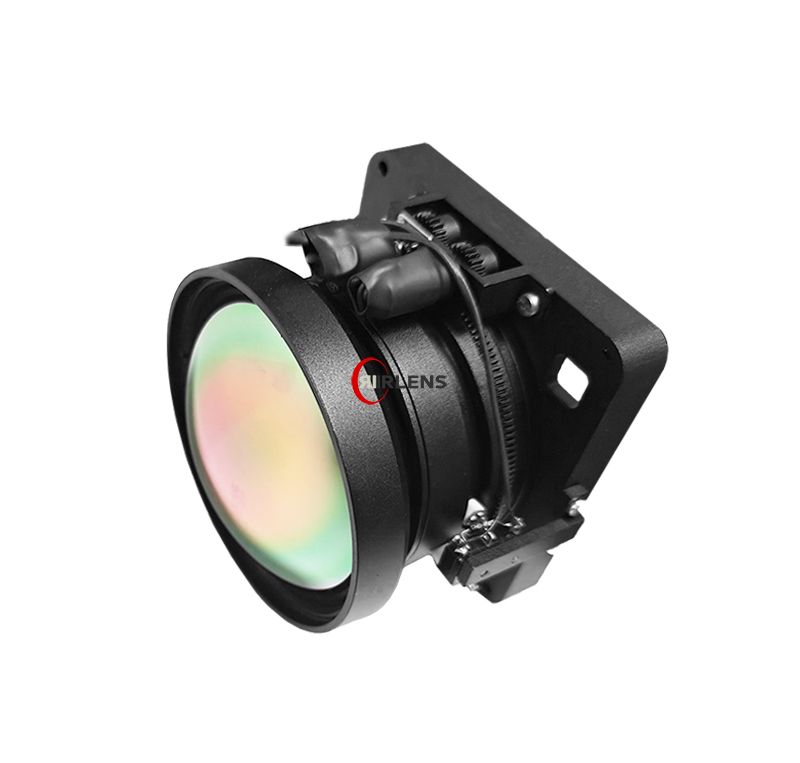
Calibration of your motorized LWIR lens is crucial for achieving high-quality thermal imaging. A well-calibrated lens enhances image accuracy, improves scene interpretation, and ensures the reliability of observations in varying thermal conditions.
Before starting the calibration process, gather the following tools:
Choose a controlled environment where you can minimize external thermal interference. Ensure lighting is adequate to avoid reflections and distractions when calibrating.
Use a microfiber cloth to gently clean any dust or smudges from your motorized LWIR lens. Even small obstructions can affect calibration results.
Position your calibration target at a known distance (measure this using the measurement tape). Ensure it is stable and not likely to be disturbed during calibration.
Set up your cooled camera and ensure the motorized lens is connected properly. Launch the calibration software on your device.
Point your motorized LWIR lens at the calibration target and start capturing images. It\'s best to take multiple images to gather a variety of data.
Use the calibration software to analyze the captured images. Pay attention to the temperature readings on the calibration target and compare them to the expected values.
Based on the analysis, adjust the calibration settings in the software accordingly. This may involve tweaking parameters that affect image clarity and temperature readings.
Repeat the image capturing process after adjustments and analyze the results again to ensure they align with your desired parameters. Continue adjusting until optimal performance is reached.
One frequent error is failing to take enough reference images, which can lead to inaccurate calibration. Always aim for a varied dataset.
Environmental conditions can heavily impact your results. Avoid calibrating in fluctuating temperatures or during sudden drafts.
Neglecting lens maintenance can lead to poor image quality. Regular cleaning is essential for accurate calibration results.
Failing to verify your calibration can cause you to miss errors. Always confirm that your adjustments have produced the intended outcomes.
By following this step-by-step guide on calibrating your motorized LWIR lens for a cooled camera, you can optimize performance and ensure accurate thermal imaging. For more information about our motorized LWIR lens solutions, visit IRLENS.
Latest News
Hot-Sale Product


